Landscape Lighting Ideas for Trees: Highlight Your Yard’s Best Features
Most homeowners spend hours planning walkway and patio lights, then leave their trees completely dark. That’s a mistake. The best landscape lighting ideas for trees do more than decorate a yard after sunset — they turn a mature oak, maple, or birch into the focal point of the whole property, add a layer of security, and measurably increase curb appeal when the house hits the market.
You don’t need a big budget or an electrician’s license to get started. A single well-placed fixture aimed up at a trunk can transform the look of a front yard for under $100. The trick is understanding the four basic techniques — up-lighting, down-lighting, silhouetting, and shadowing — and knowing which trees respond to each one.
This guide breaks down those techniques with real fixture and labor costs, walks through voltage and bulb choices, and tells you when a weekend DIY job is smarter than hiring a pro.
Why Light Your Trees at All?
Lighting a tree isn’t just decoration. It serves three concrete purposes that make the expense easy to justify.
First, safety and security. A large dark tree near the driveway or front walk is a shadow zone, and well-lit properties are simply less attractive to anyone casing a home. Second, resale value. Landscape lighting consistently ranks among the highest-return outdoor upgrades on realtor surveys, and a lit specimen tree is one of the few improvements buyers actually notice during an evening drive-by. Third, enjoyment. You paid for the view — lighting it means you get it all year, not just during daylight hours in summer.
The key is restraint. One or two trees lit beautifully will always beat eight trees lit badly.
Up-Lighting: Highlight the Trunk and Canopy From Below
Up-lighting is the most common technique, and for good reason. A fixture placed at the base of a tree and aimed upward washes light across the trunk and into the branching structure, revealing texture that disappears in full darkness.
Placement matters more than the fixture itself. For a mature tree with a trunk 12 inches or wider, put the fixture 12 to 24 inches from the trunk and aim it up at roughly a 30- to 45-degree angle. For trees with interesting bark — sycamore, river birch, or mature pine — a harder angle creates deeper shadow lines. For broader canopies, back the fixture off to 3 or 4 feet so the beam spreads before it reaches the leaves.
For a standard ornamental tree under 15 feet tall, one 3- to 6-watt LED well light is usually enough. For a large specimen oak or maple, budget for two fixtures on opposite sides. Expect to pay $25 to $80 per fixture for solid brass or aluminum well lights from names like Kichler, Hinkley, or Volt, and around $100 to $200 per fixture once you step into premium brands such as FX Luminaire with adjustable optics.
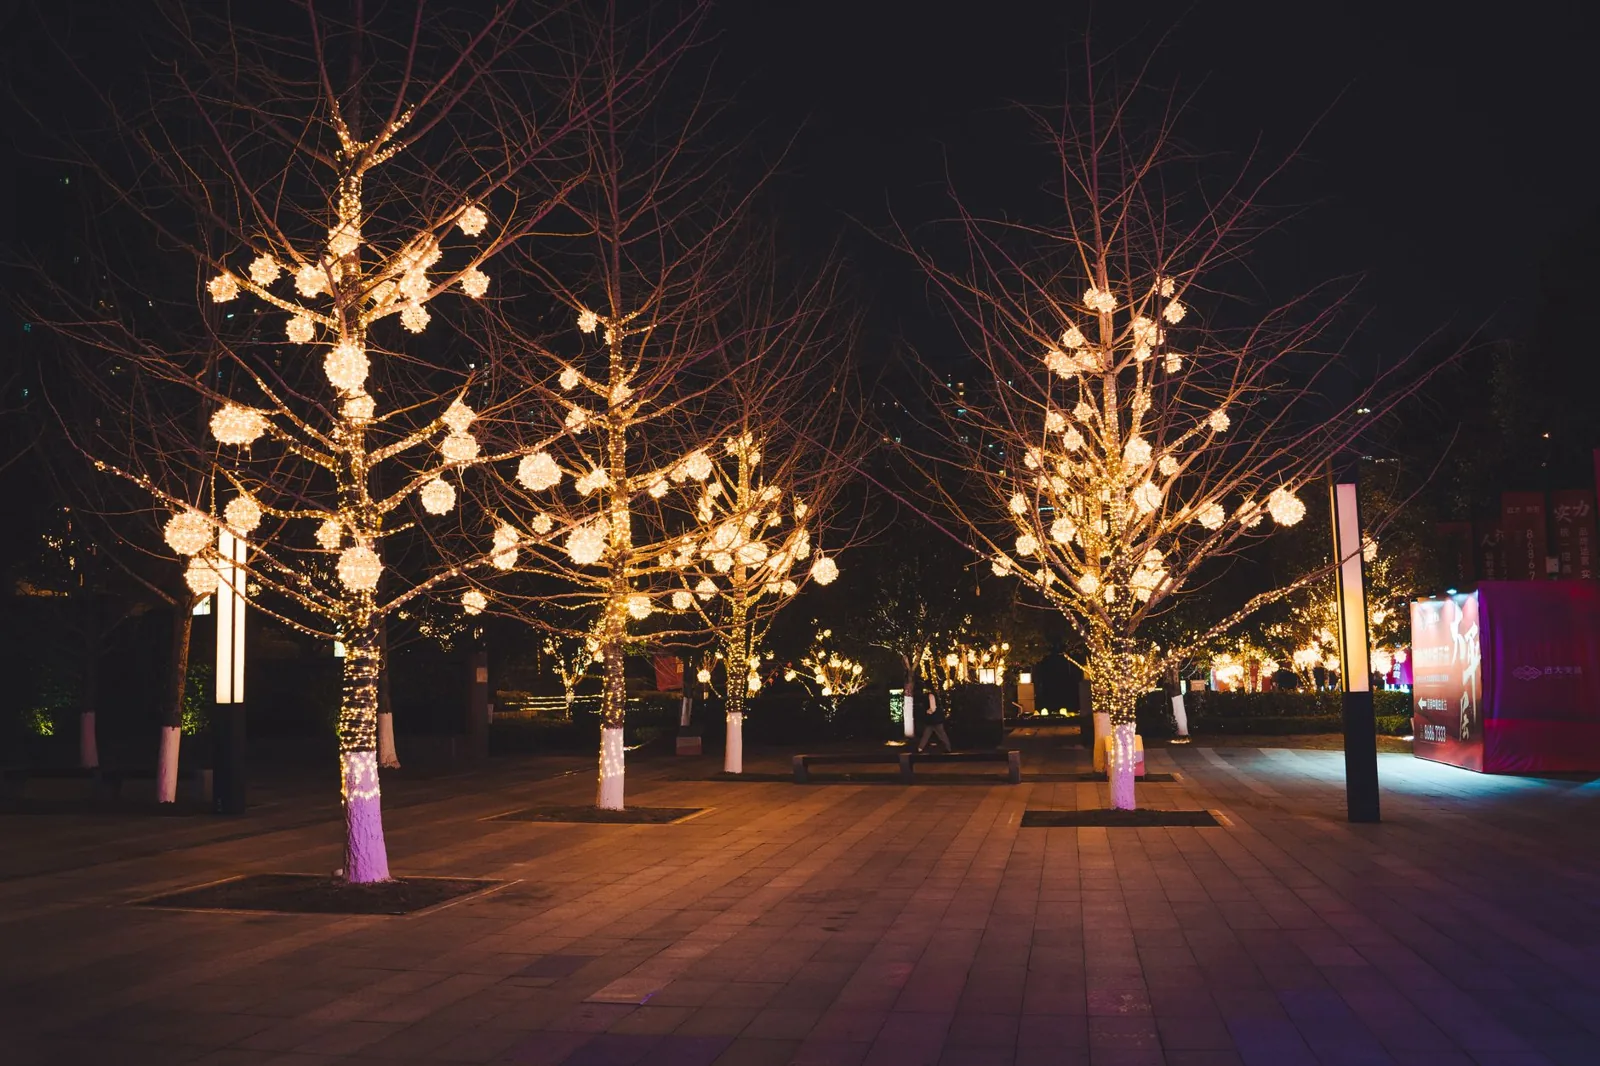
Photo by Pexels via Pexels
Down-Lighting: Soft, Natural “Moonlight” From Above
If up-lighting reads as “installed,” down-lighting reads as “natural.” Mounting a small fixture high in a tree and aiming it down creates what lighting designers call moonlighting — a soft pool of filtered light on the ground that looks like it fell through the canopy on its own.
This is the technique to use when you want to light a path, a lawn, or a seating area without seeing a single fixture. The light source sits 15 to 25 feet up, hidden in the branches, and the leaves break the beam into a dappled pattern on the ground.
Two things make moonlighting harder than up-lighting. First, you need a tree with a good branch structure and enough height to hide a fixture. Second, you need a way to get power up there — either a fixture mounted high with a low-voltage line run up the trunk (ugly unless you hide it), or a solar or battery unit integrated into a discreet mount. Budget $60 to $150 for a down-light fixture, and factor in the ladder time if you’re doing it yourself.
The payoff is worth it. A dappled pool of light across a flagstone patio is one of the few outdoor lighting effects that makes guests ask how you did it.
Silhouetting and Shadowing: Drama Without the Glare
These two techniques cost the least and deliver the most visual impact per dollar.
Silhouetting works by placing a fixture behind the tree, aimed at a wall, fence, or hedge. The tree goes dark and reads as a striking black shape against the lit surface. This is the right choice for trees with a strong, sculptural outline — Japanese maples, weeping cherries, and anything with distinctive branching. Because the light bounces off a backdrop rather than the tree itself, one small fixture does the job.
Shadowing is the inverse. You aim a fixture at the tree from the front, close to it, so the tree throws a long shadow onto the wall or lawn behind it. It works best with open, architectural trees and a light-colored surface. You get two effects for the price of one: the lit tree and its shadow.
Both techniques live or die on the backdrop. A dark hedge or a brick wall beats a white vinyl fence — the less your eye competes with the lit surface, the cleaner the effect. Because these setups use generic path or wall-wash fixtures, expect to spend $20 to $60 per fixture.
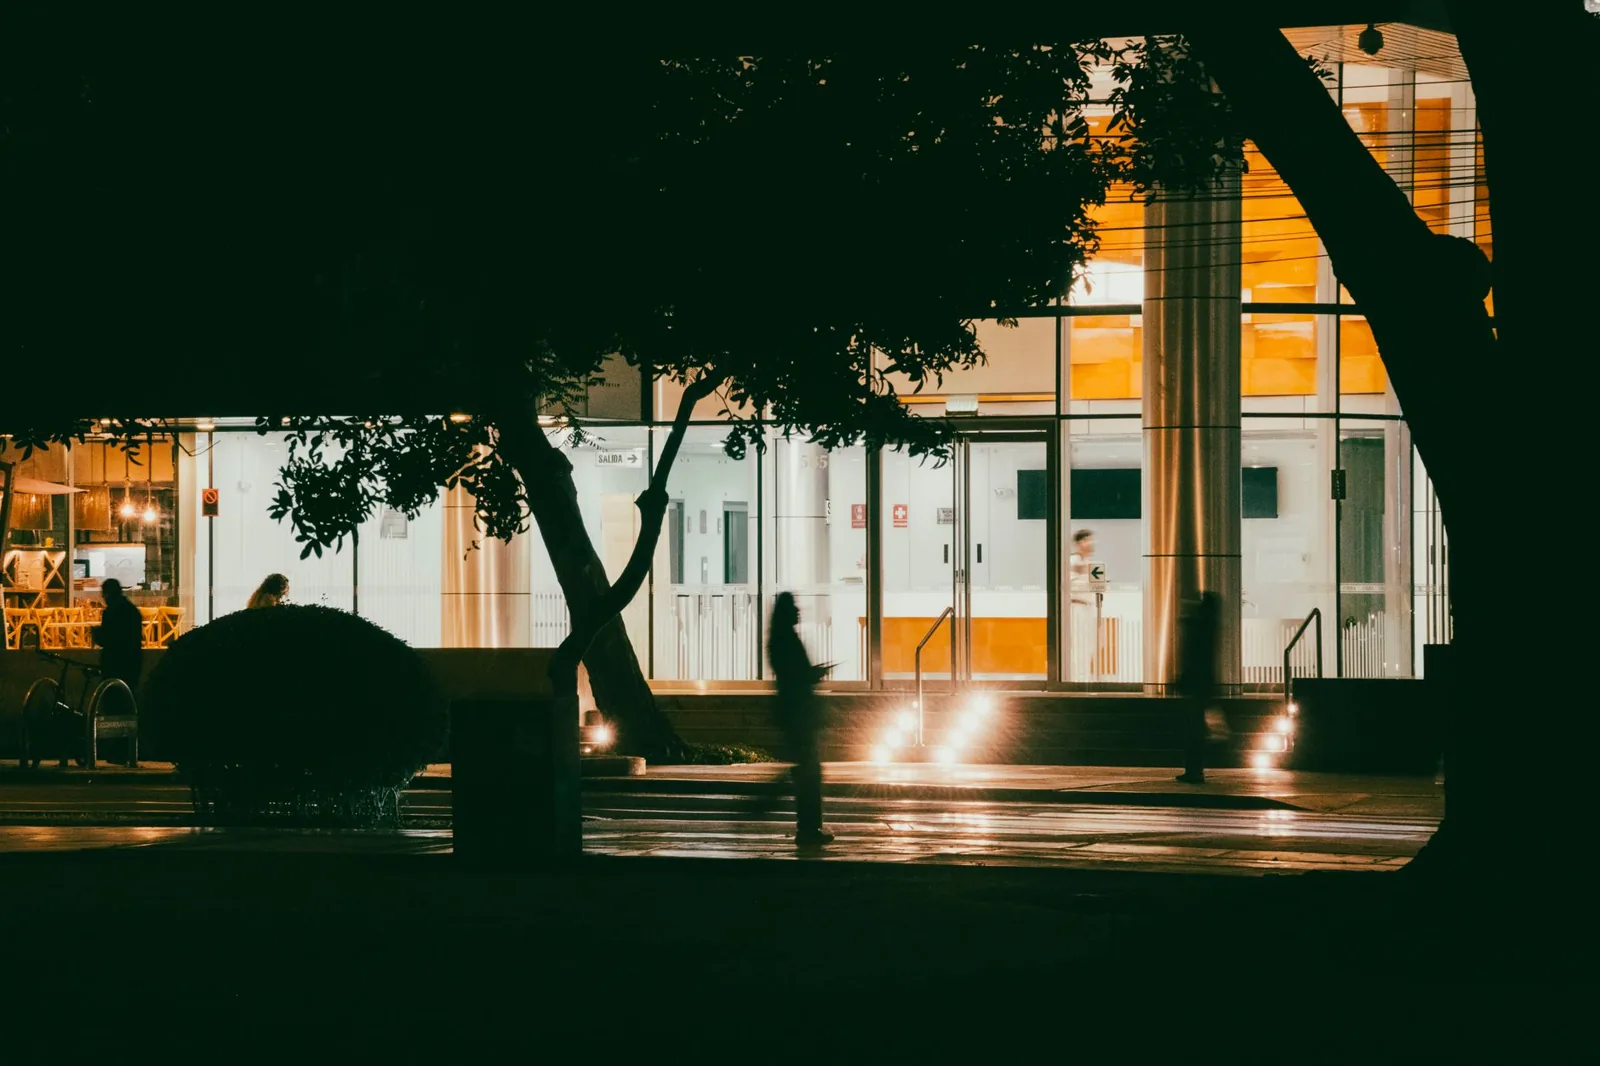
Photo by Marcelo Mora via Pexels
Landscape Lighting Ideas for Trees at Every Budget
The right technique depends as much on your budget as on your trees. Here’s how the main approaches compare side by side.
| Feature | Up-Lighting | Down-Lighting | Silhouetting |
|---|---|---|---|
| Fixture cost (per tree) | $25–$200 | $60–$150 | $20–$60 |
| Install difficulty | Easy | Moderate (ladder + branch mount) | Easy |
| Best tree type | Textured bark, wide canopy | Tall, dense canopy over a surface | Sculptural, distinctive outline |
| Power setup | Low-voltage well light | Low-voltage or battery, high mount | Low-voltage wash or path light |
| Effect | Reveals trunk and branches | Natural, dappled ground light | Clean dark shape vs. lit wall |
| Best use | Front-yard specimen trees | Patios, paths, seating areas | Fences, hedges, and walls |
For most homeowners, a mix wins: up-light the front-yard showpiece, moonlight a seating area, and silhouette a shapely maple against the house. You can build that whole plan for $300 to $600 in fixtures plus wire and a transformer.
Choosing Fixtures, Bulbs, and Voltage
Skip line-voltage (120V) fixtures for trees. Low-voltage landscape lighting runs on 12 volts, which is safer to install, uses thinner and cheaper cable, and is effectively a requirement for hiding lights close to plants and trunks. Your choice is between a plug-in low-voltage system built around a landscape lighting transformer and standalone solar fixtures.
LED is the only bulb worth buying. A 4-watt LED throws as much light as a 20-watt halogen, uses roughly 75% less power, and runs cool enough to rest near bark without damaging it. Color temperature steers the mood: 2700K is warm and natural, 3000K reads crisp and clean, and anything above 4000K looks commercial and harsh against wood. For trees, stick to 2700K to 3000K.
Fixture material decides how long your install lasts. Brass and copper develop a patina and hold up for decades; cast aluminum with a powder-coat finish is a solid, cheaper middle ground; plastic is a false economy that generally fails within a few seasons. If you’re planning a large system, map out total wattage first, then estimate what your landscape lighting will cost before you buy anything.
DIY Installation vs. Hiring a Pro
A small tree-lighting job — one or two fixtures — is firmly in DIY territory. Low-voltage fixtures connect with waterproof wire nuts or snap-lock connectors, and the most technically demanding step is sizing the transformer to your total wattage.
The tipping point is scale and obstacles. If your plan involves more than a handful of fixtures, spans a driveway or walkway, or requires burying more than 50 feet of cable, a pro is usually worth the call. Professional design and installation runs roughly $2,500 to $6,000 for a full front-and-back system, or about $150 to $300 per fixture installed. You’re paying for the layout eye, not just the wire pulling.
If you do it yourself, dig trenches 4 to 6 inches deep for cable, leave slack at every fixture, and test the whole circuit before you bury anything. One final tip: run your lights off a timer or photocell from day one. The biggest mistake with low-voltage lighting isn’t the fixtures — it’s leaving them on all night and running up the bill.
Frequently Asked Questions
What’s the best way to light a large tree?
Use two or more up-lights placed on opposite sides of the trunk, angled up 30 to 45 degrees. For trees over 30 feet, add a second tier of down-lights in the canopy to light the trunk from above.
Do tree lights damage the tree?
No, provided you choose LED. Halogen and incandescent bulbs run hot and can scorch bark; low-voltage LED fixtures run cool and are safe even when mounted directly against wood. Avoid stapling cable into the trunk — fasten it loosely with tree-friendly straps instead.
How many fixtures does a tree need?
A small ornamental tree under 15 feet needs one fixture. A standard medium tree (15 to 30 feet) typically needs two. A mature specimen tree over 30 feet may need three or four split between up-lights and canopy-mounted down-lights.
Can I use solar lights for trees?
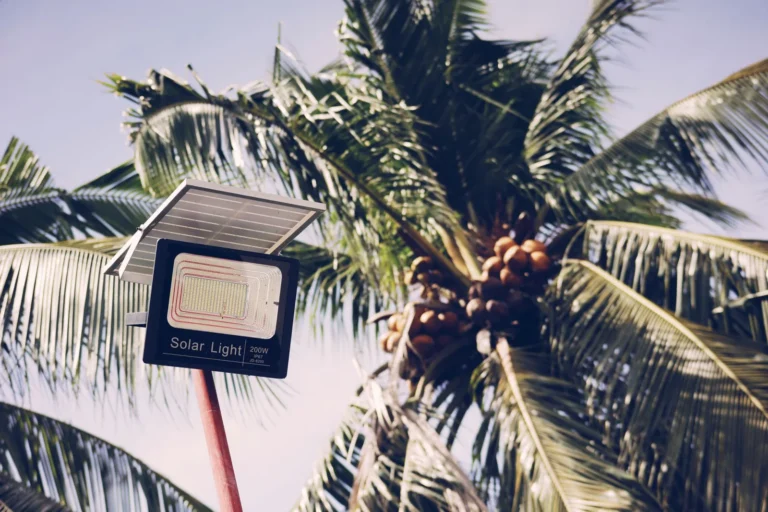
Yes, for small accents like silhouetting and short up-lights. Solar output is too weak for genuine up-lighting of a large canopy, and shaded trees underperform with solar panels. For real impact, use a low-voltage wired system.
How much does professional landscape lighting cost?
A full professionally designed and installed system typically runs $2,500 to $6,000, or roughly $150 to $300 per fixture. A single-feature DIY tree light can be done for under $100.
For uplighting and accent techniques, This Old House explains tree lighting.
The Bottom Line
The best landscape lighting ideas for trees aren’t about buying the most fixtures — they’re about matching the right technique to the right tree. Up-light a textured specimen trunk, moonlight a seating area from the canopy, and silhouette a sculptural maple against a wall. Do those three things well and your yard looks professionally designed for a fraction of the cost.
Start with one tree and one technique this weekend. A $60 well light, a 45-watt transformer, and an hour of work will show you more about what works on your property than a month of planning. Once you see the difference, you can expand the system piece by piece — and if the scope grows past your comfort zone, bring in a designer for the wiring and the layout.
For more ways to shape your yard after dark, see our guide to landscape lighting ideas for the backyard and our full breakdown of string-light and accent options.