Security Lighting for Home Exterior: A Practical Installation Guide
A burglar working in the dark is a burglar who gets caught. That, in one sentence, is why security lighting for home exterior spaces remains the single most cost-effective deterrent a homeowner can install — more effective, dollar for dollar, than most cameras, because it removes the cover of darkness before an alarm ever has to go off. Studies from criminologists have repeatedly found that well-lit homes are targeted less often than dark ones on the same street, though lighting works best as part of a layered approach rather than a standalone fix.
This guide covers what actually matters: which fixtures hold up outdoors, where to point them (and where not to), what a realistic budget looks like, and how to avoid the two mistakes that turn a “security” light into a neighborhood nuisance. It is written for homeowners in the US, UK, Canada, and Australia who want specific, usable information rather than marketing copy.
What Counts as Exterior Security Lighting?
Before buying anything, it helps to separate true security lighting from decorative or “curb appeal” lighting. The two serve different jobs and are often wired and controlled differently.
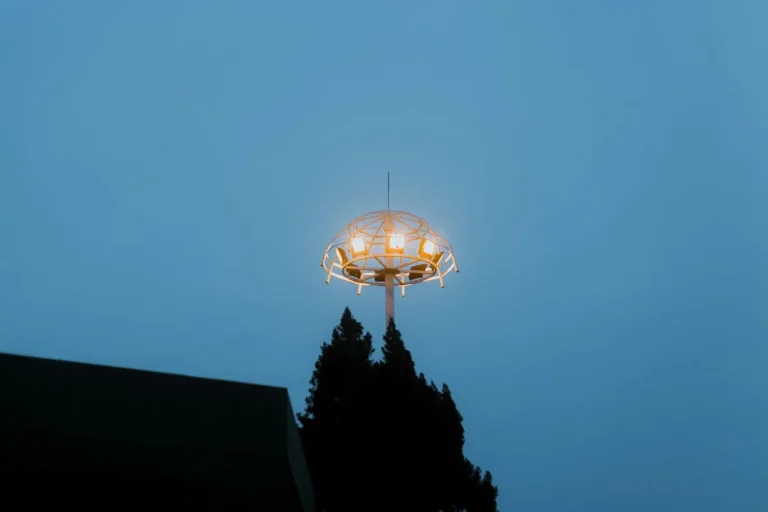
Security lighting exists to expose movement and eliminate hiding spots. It is bright, typically 1,000 to 4,000 lumens, aimed at entry points, and usually triggered by motion or darkness. Ambient landscape lighting, by contrast, is softer (100 to 800 lumens), aims to make a yard look pleasant, and runs on a timer or dusk-to-dawn sensor.
That distinction matters for two reasons. First, brighter is not automatically safer: a 4,000-lumen flood aimed straight at a neighbor’s bedroom does nothing for your security and guarantees a complaint. Second, mixing the two systems usually produces better results than buying one “does everything” fixture. Use security lights to guard doors, walkways, and blind corners, and lower-voltage fixtures to make the property look lived-in.
Common Fixture Types
- Motion-sensor floods — the standard. Two-bulb or LED arrays of 1,500 to 3,500 lumens, triggered by a passive infrared (PIR) sensor. Best at garage doors, side gates, and back patios.
- Dusk-to-dawn lights — stay on from sunset to sunrise via a photocell. Best for front entries and dark driveway edges where you want constant illumination, not just triggered flashes.
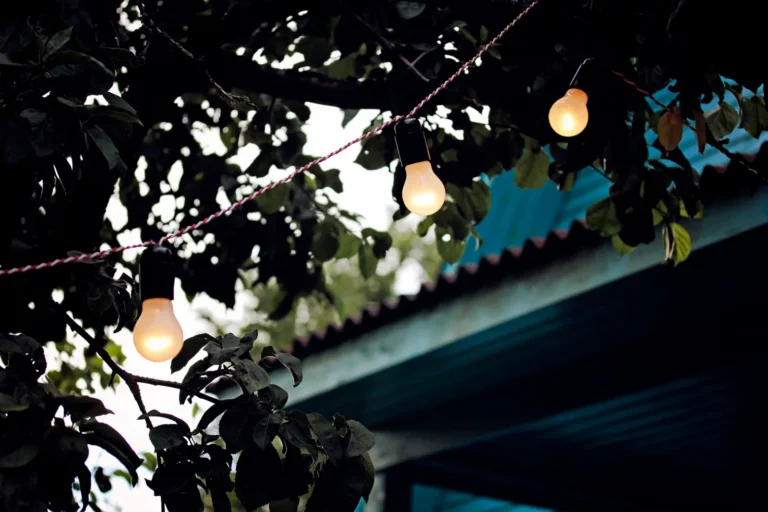
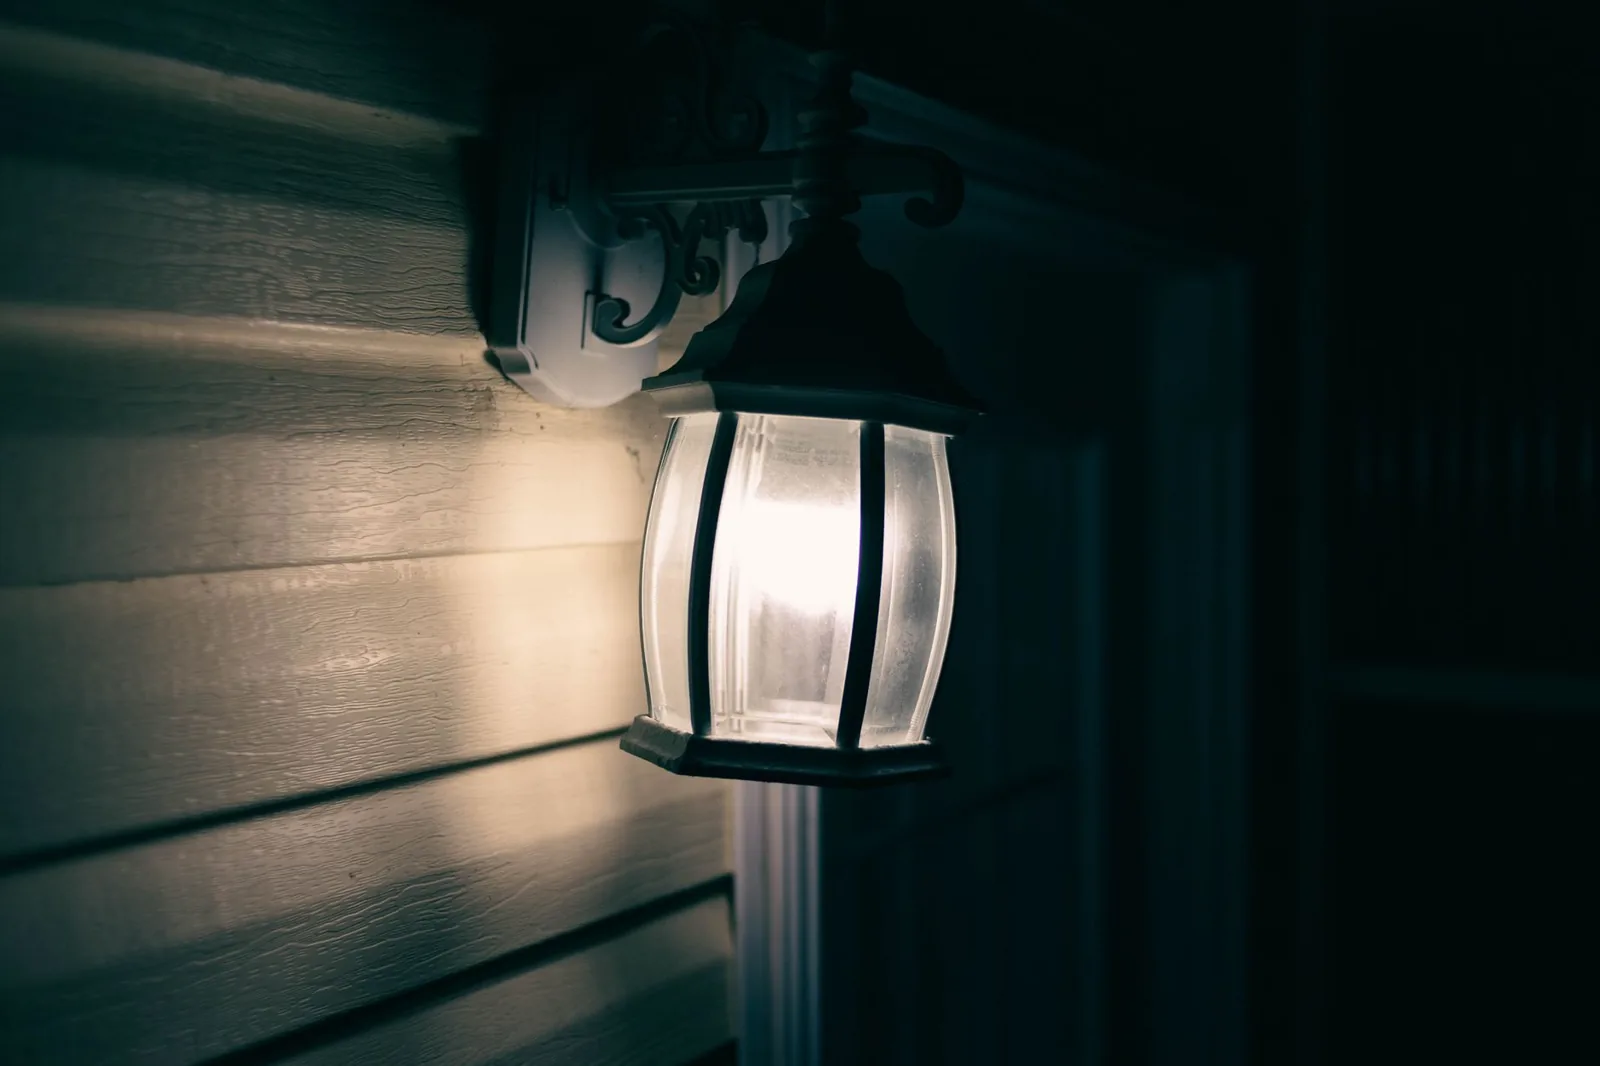
- Wall lanterns / coach lights — decorative but functional, usually flanking a front door. Combine them with an LED bulb and a photocell or smart timer for genuine coverage.
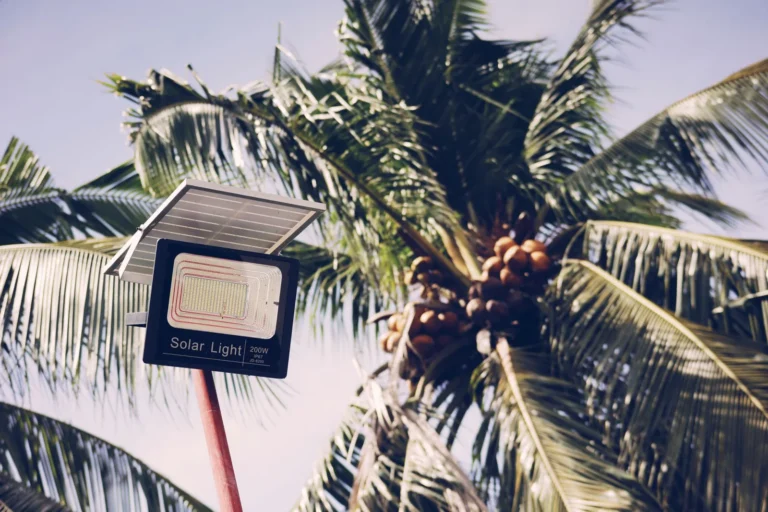
- Solar security lights — no wiring, easy to DIY, but limited to roughly 300 to 1,000 lumens and dependent on weather. Good for sheds and remote corners; weak for primary entries.
- Smart floodlight cameras — motion light plus a camera in one unit, such as the Ring Floodlight Cam, Google Nest Cam with Floodlight, or Eufy Floodlight Cam. They add recording but lock you into a subscription for most features.
How Much Does Security Lighting for Home Exterior Cost?
Budget planning is where most people either overspend on hardware that’s overkill or underspend on the install that makes it safe and code-compliant. Here are realistic US ranges as of 2026, assuming a standard single-family home.
Fixture Cost vs. Installation Cost
| Feature | Motion-Sensor LED Flood | Smart Floodlight Camera | Solar Security Light |
|---|---|---|---|
| Fixture price (each) | $30–$90 | $100–$250 | $25–$80 |
| Typical lumens | 2,000–3,500 | 2,000–3,000 (plus camera) | 300–1,000 |
| Wiring required | Yes (replace existing) | Yes (replace existing) | No |
| Pro install cost (each) | $75–$150 | $150–$300 | $0 (DIY) |
| Ongoing cost | Minimal (LED) | $5–$20/mo subscription | None |
| Best use case | Primary entries, garage | Entries you want recorded | Sheds, fences, unlit corners |
Replacing an existing hardwired fixture with a comparable LED unit is usually a one-to-one swap an electrician handles for $75 to $150, and many confident DIYers do it themselves for the cost of the fixture. Running a new circuit or adding a switch where no wiring exists is where the bill climbs: an electrician typically charges $200 to $600 for a new exterior light drop, more if the panel is far away or the wall is difficult to fish wire through.
A full professional package — four motion floods around the house plus a front-entry lantern on a photocell — generally lands between $600 and $1,500 installed. See our breakdown of landscape lighting cost if you want to budget the decorative side of your yard in the same pass.
Where to Place Exterior Lights for Real Deterrence
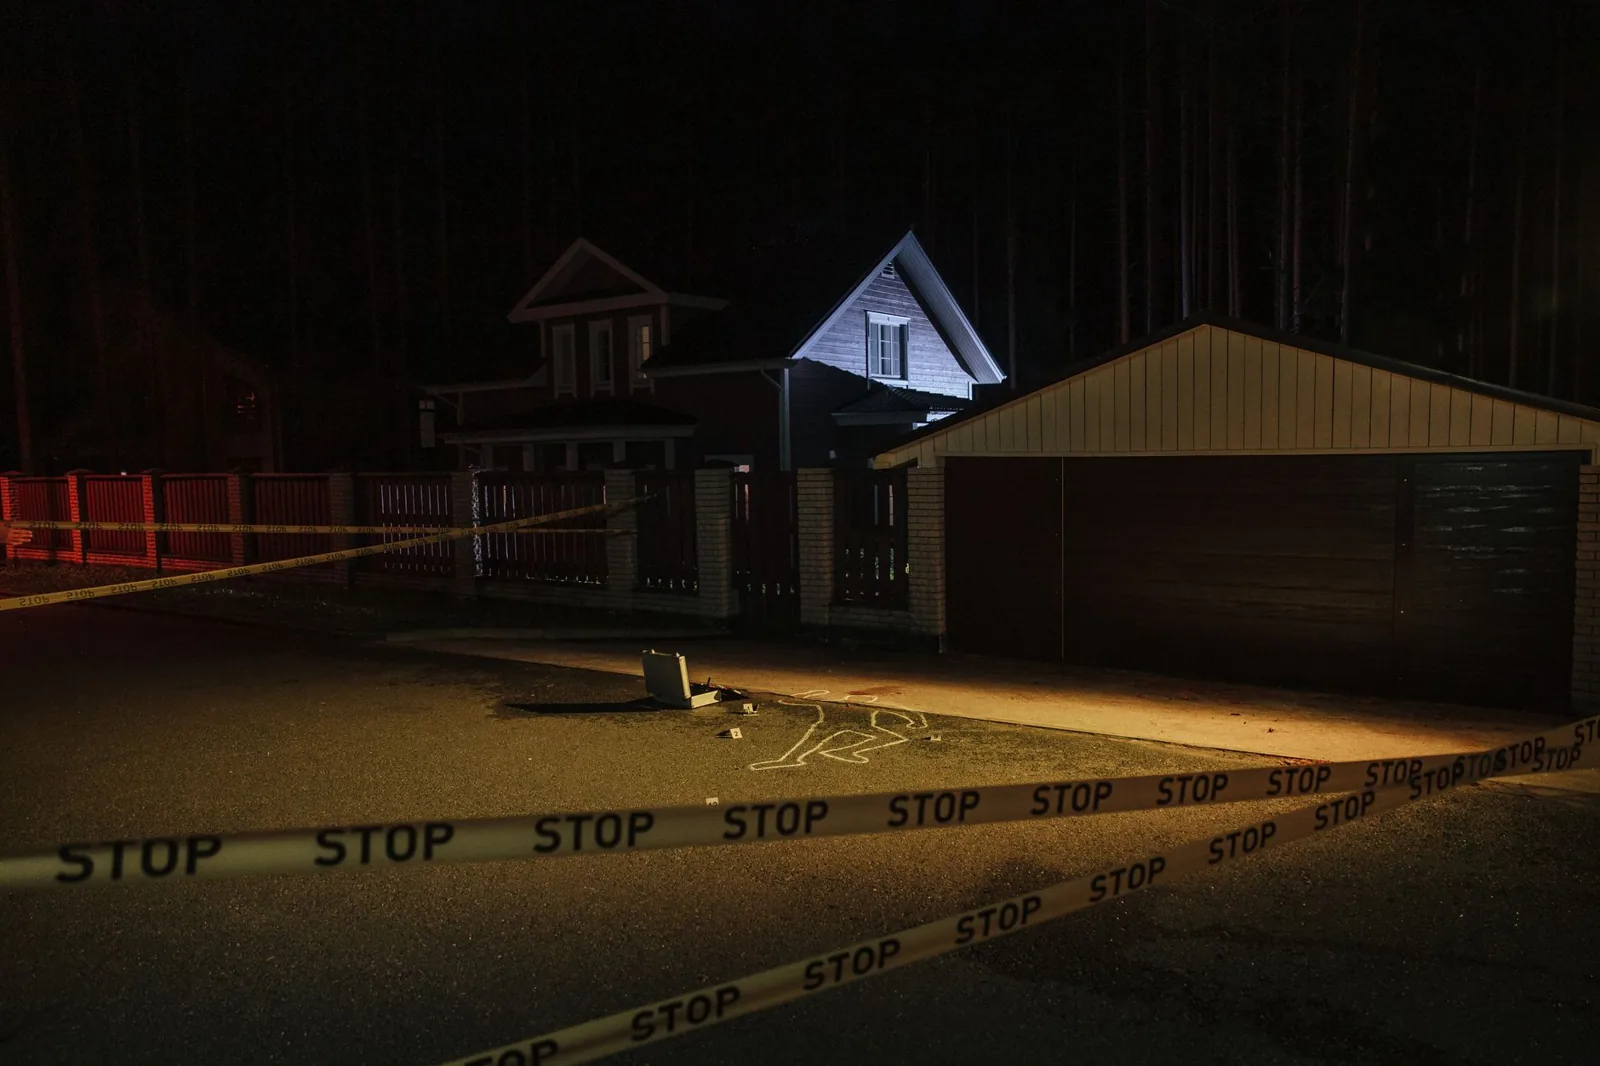
Photo by cottonbro studio via Pexels
Placement, not brightness, is what separates effective security lighting from simple glare. Criminologists and home-security pros converge on the same few rules.
Cover every entry point. Front door, back door, and garage side door each need a light. A forced entrance happens at a door in the overwhelming majority of break-ins, so light what an intruder would actually touch, not the middle of an empty lawn.
Light the approaches, not just the threshold. A light mounted directly over a door creates a bright halo right where someone stands to work the lock — but it also throws deep shadows behind them. Position floodlights so the beam crosses the approach path at an angle, which lights the person and the head of the walkway together. Two lower-wattage lights aimed at each other from opposite corners beat one giant flood aimed straight down.
Mind the blind spots. Side yards, the space behind a detached garage, and basement stairwells are the classic ambush points of residential burglary — dark, hidden from the street, and close to a window. A $40 motion flood at a side gate does more real work than a $250 smart light in a spot nobody approaches.
Keep the beam off your neighbor’s windows and your own bedroom. Aim fixtures down and out. Light that spills horizontally at window height wakes people up and gets reported. A sensor-mounted flood angled about 30 to 40 degrees downward covers the yard without the glare — shine light on the ground and the person, never the sky. The U.S. Department of Energy’s energy-saving lighting guide makes the same point bluntly: put light only where it is actually needed.
Wiring and Power Options, Explained
Photo by C.T. PHAT via Pexels
How a light gets its power determines not just installation difficulty but reliability and, indirectly, how much it will actually get used.
Hardwired (120V) is the gold standard for primary security lighting. It is dependable, bright, and can drive multiple fixtures on one switch or sensor. The tradeoff is installation: if a junction box already exists at the spot, it is often DIY-friendly; if not, pull a permit and hire an electrician. In the US, exterior wiring must be on a GFCI-protected circuit, and any buried cable needs to be rated for direct burial at the correct depth.
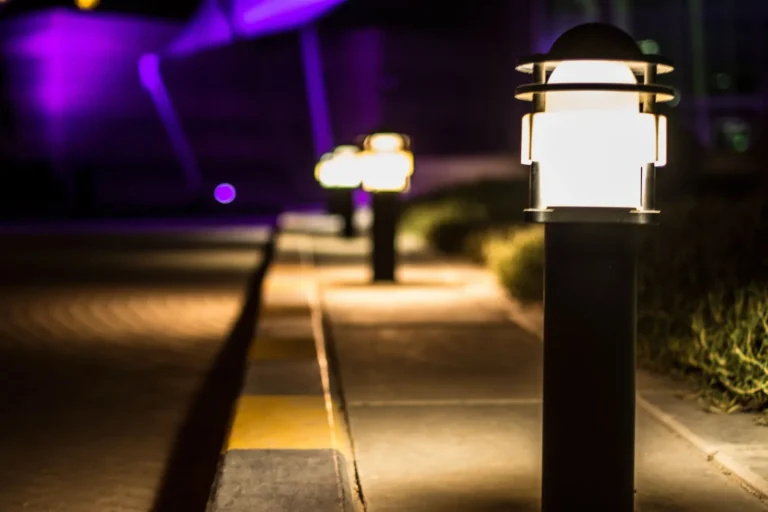
Low-voltage (12V) systems step current down at a transformer and run thin, cheap, safe-to-bury cable around the yard. They dominate landscape lighting for good reason, but they top out in brightness and are better for path and accent fixtures than for a true security flood. Many homes use both: hardwired floods for security, a low-voltage loop for the pretty stuff.
Solar is the easiest to install and the least dependable. Output sags in winter, on cloudy days, and whenever the panel gets dusty or shaded by a tree. Treat solar as supplementary — a light on a shed or fence post where running wire is impractical — not as your front-line defense.
Features Worth Paying For (and Ones to Skip)
Retailers will sell you a long list of features. A useful rule: pay for things that make the light more likely to be on when it matters, and skip things that only add a gadget thrill.
Worth it:
- Photocell (dusk-to-dawn) — removes the single biggest failure mode of outdoor lighting: the switch you forgot to flip on. $10 to $25.
- Adjustable PIR sensor — lets you set sensitivity and the “off” delay so the light isn’t reriggered by every passing cat. Standard on good floods.
- Color temperature in the 3000K–4000K range — warm enough to not feel like a prison yard, bright enough to be useful. Avoid harsh 5000K+ “daylight” for residential entries.
- IP65 or IP66 rating — you need genuine weather sealing on a fixture that lives outside all year. IP65 keeps out low-pressure water jets and dust; IP66 adds heavy-jet protection.
Usually skip:
- Megapixel-count wars on floodlight cameras — 1080p is more than enough to identify someone at driveway distance; you are paying for storage, not pixels.
- RGB / color-changing floods — fun, harmless, and zero security value; buy them as decoration if you want them, not as protection.
- Battery-only smart floods — convenient until the batteries die in a February cold snap. Hardwire if at all possible.
If the whole category of solar versus low-voltage has you unsure which way to go for the rest of the yard, that comparison lays out the tradeoffs clearly. When it is time to compare specific models side by side, This Old House keeps an updated list of the best outdoor security lights worth the money.
DIY vs. Hiring an Electrician
Replacing an existing fixture is squarely in DIY territory if you know how to kill the breaker, verify the wires are dead with a non-contact tester, and match the wiring correctly (black to black, white to white, ground to ground). The fixture itself costs $30 to $90 and the job takes about 30 to 45 minutes.
Call a licensed electrician when:
- There is no existing junction box where you want the light.
- You need a new switch, a new circuit, or a run through an exterior wall or buried under the yard.
- You are uncomfortable around your panel or the wiring condition is unclear (old cloth wiring, shared neutral, aluminum wire).
Getting it wrong outdoors is worse than indoors: a bad connection that is merely annoying inside can become a short-through-rain hazard outside. The $75 to $150 for a pro swap is cheap insurance compared to a fried fixture or a tripped GFCI in the middle of the night.
Frequently Asked Questions
Do outdoor security lights actually deter burglars?
They help, but they are not a magic shield. Lighting removes hiding spots and raises the perceived risk of being seen, which makes a property a less attractive target — especially combined with signs of occupancy, locked doors, and working alarm signage. On their own, lights won’t stop a determined intruder, but they demonstrably reduce “opportunity” crimes and make neighbors more likely to notice someone at your door.
How many lumens do I need for home exterior security lighting?
For a front or back entry, 2,000 to 3,500 lumens from a floodlight is a practical target. Walkways and side yards can be well lit with 700 to 1,500 lumens. More than about 4,000 lumens aimed at one spot mostly creates glare and light pollution without meaningfully improving safety.
Should security lights stay on all night or use motion sensors?
A combination works best. Use one dusk-to-dawn light at the front entrance so the house never looks vacant, and motion-sensor floods at secondary entries, garages, and side yards. Motion lights save energy on rarely-approached areas and the sudden “snap-on” of a bright light is itself a strong deterrent signal.
Are solar security lights good enough?
For a shed, fence, or a corner where running wire is impractical, yes. For a main entry point, no — their output and reliability drop too much in winter and cloudy weather to depend on for primary protection. Think of solar as a supplement, not the backbone.
Do I need a permit for exterior security lights?
Replacing a fixture on an existing box usually does not require a permit. Running a new circuit, adding new hardwired locations, or burying cable typically does, and it should be inspected. Requirements vary by municipality and by country — check with your local building department before starting new electrical work.
The Bottom Line
Good security lighting for home exterior spaces comes down to three decisions: put bright, motion-triggered floods at every entry and blind corner; power them with hardwired circuits wherever possible and solar or low-voltage only where it is not; and aim every beam down and away from windows so your “deterrent” doesn’t become the neighborhood’s least favorite fixture. The hardware is cheap — a solid LED motion flood costs about the same as a family pizza night — and the payoff is a house that looks occupied, watched, and simply more trouble than the dark one next door.
Start with the front entry and the garage; those two lights deliver the biggest deterrent for the smallest effort, and you can expand to side yards and the backyard as budget allows. For a deeper look at the decorative layer that makes outdoor lighting feel finished rather than institutional, our guide to landscape lighting ideas for the backyard covers the softer half of the same project.