Path Lighting Ideas: 15 Ways to Light Walkways and Driveways
A bare walkway after sunset is a tripped ankle waiting to happen. Good path lighting ideas do more than prevent falls — they frame the way to your front door, make your garden readable after dark, and add a layer of security that porch lights alone can’t deliver. Whether you have a short flagstone path off the driveway or a long paver walk curving through the backyard, the right approach means picking a light type, a brightness level, and a layout that all work together.
The good news is that path lighting has never been cheaper or easier to do well. LED fixtures now run for decades on a few watts, solar options need zero wiring, and low-voltage kits from companies like Volt Lighting, Kichler, and Hampton Bay put a professional look within reach of a weekend DIY job. In this guide we’ll walk through ideas for every budget, compare low-voltage and solar systems, and give you concrete spacing, height, and cost numbers so you can plan with confidence.
Path Lighting Ideas by Style
The fixtures you choose set the whole tone, so it’s worth knowing the vocabulary before you shop. Most path lighting ideas fall into one of a handful of classic forms.
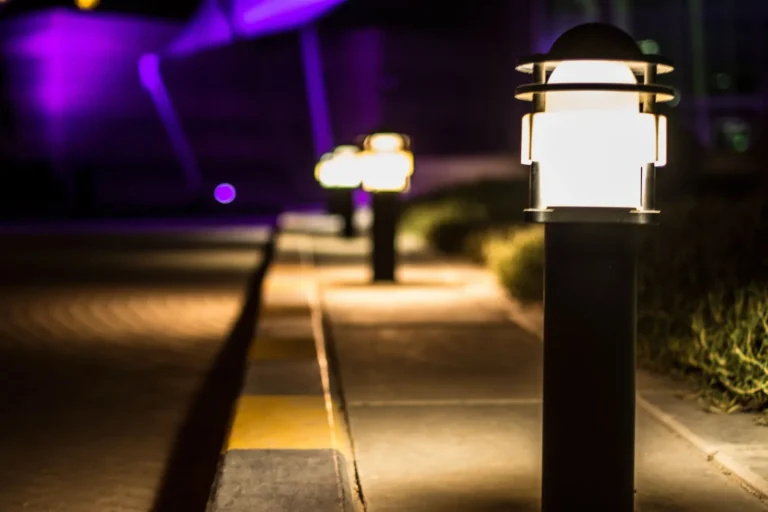
Bollard and post lights. Short, sturdy 18-to-30-inch posts that sit directly beside the path. They spread light broadly and read as architectural, making them the go-to for driveways, front walks, and modern homes. Expect to pay $30 to $150 per fixture for decent aluminum or brass units.
Mushroom, hat, and tier lights. The traditional “pagoda” or mushroom-top path light diffuses a soft glow downward. They’re low-profile, cheap (often $20 to $60 each), and give a classic look that suits cottage and traditional houses better than sleek bollards.
Step and deck lights. Small lights recessed into risers or mounted on low walls, typically 3 to 7 inches wide. They light only what needs lighting and are the safest choice near stairs. Plan on $15 to $60 per fixture.
Well and up-lights. These sit flush in the ground and shine upward, usually aimed at a tree trunk, sculpture, or a section of a privacy hedge. They don’t light the path itself, but they add depth around it.
In-ground marker lights. Flat, flush-mount pucks that you walk over — popular for marking driveway edges. Budget $25 to $90 each for units rated for vehicle and foot traffic.
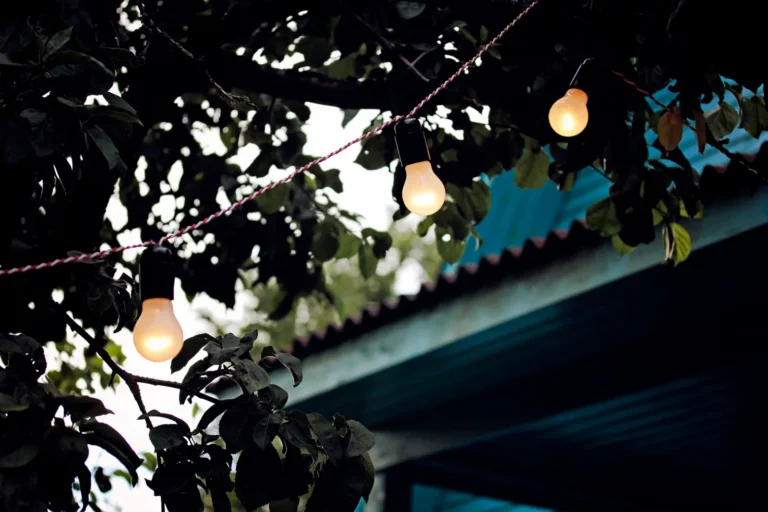
Bollard + string hybrid. For a backyard path, some homeowners line the walk with a short row of low bollards and dress it up with outdoor string lights overhead. It’s a fast way to make a path feel like an outdoor room.
How Much Does Path Lighting Cost?
Path lighting cost splits cleanly into fixture cost, power components, and installation. Understanding each prevents nasty surprises at checkout.
- Solar path lights: $20 to $100 for a pack of 6 to 10 stakes, or $15 to $60 apiece for individual fixtures. Smart solar units with app control run $80 to $150 each.
- Low-voltage fixtures: $15 to $150 per fixture for mid-range LED bollards and path lights. Premium brass units from Vista or Volt run $150 to $400 each, and designer pieces can pass $1,500.
- Transformer: $60 to $300 for a quality multi-tap unit that runs a whole yard. Budget 60W for a short path, 150W to 300W for a full front landscape.
- Low-voltage cable: $0.35 to $0.60 per foot for 12- to 16-gauge wire. A 60-foot front walk with returns usually eats 100 to 150 feet of cable.
- Labor (if hired): most landscapers and electricians quote $80 to $150 per fixture installed. An 8-to-10-light system typically lands between $2,000 and $6,000 total.
A realistic DIY low-voltage project — eight fixtures, a 100W transformer, and 150 feet of 12-gauge cable — lands around $350 to $900 in materials. You can see the full breakdown and long-term numbers in our landscape lighting cost guide.
Photo by T M via Pexels
Low-Voltage vs. Solar Path Lights
The biggest decision in any path lighting plan is the power source. Both have real merit, but they solve different problems.
| Feature | Low-Voltage (12V) | Solar |
|---|---|---|
| Upfront cost | Higher ($350–$900 DIY for 8 lights) | Lower ($40–$120 for a 6–10 pack) |
| Running cost | ~$15–$40/year in electricity | $0 |
| Brightness | Reliable, consistent 100–200 lumens | Drops in shade and winter |
| Light control | Timers, dimmers, smart zones | Usually auto on/off only |
| Installation | Trenching and wiring (a day) | Push into the ground (minutes) |
| Lifespan | 20+ years with LED lamps | 2–5 years before battery death |
| Best for | Front yards, long paths, driveways | Short sunny paths, renters |
Solar path lights have improved enormously — modern units from Govee and Ring include motion sensing and app scheduling — but they still live and die by sunlight. A path under trees or along a north-facing wall will look dim by 9 p.m. Low-voltage costs more up front and needs a transformer plus a shallow trench for the wire, but the light is dependable year-round and fully controllable.
If you’re torn, read our full solar lights vs. low-voltage comparison and the low-voltage lighting cost breakdown before you commit.
How to Plan Spacing and Fixture Height
Most path lighting mistakes are layout mistakes — lights crowded too tightly, or too tall and blinding. A few numbers keep you out of trouble.
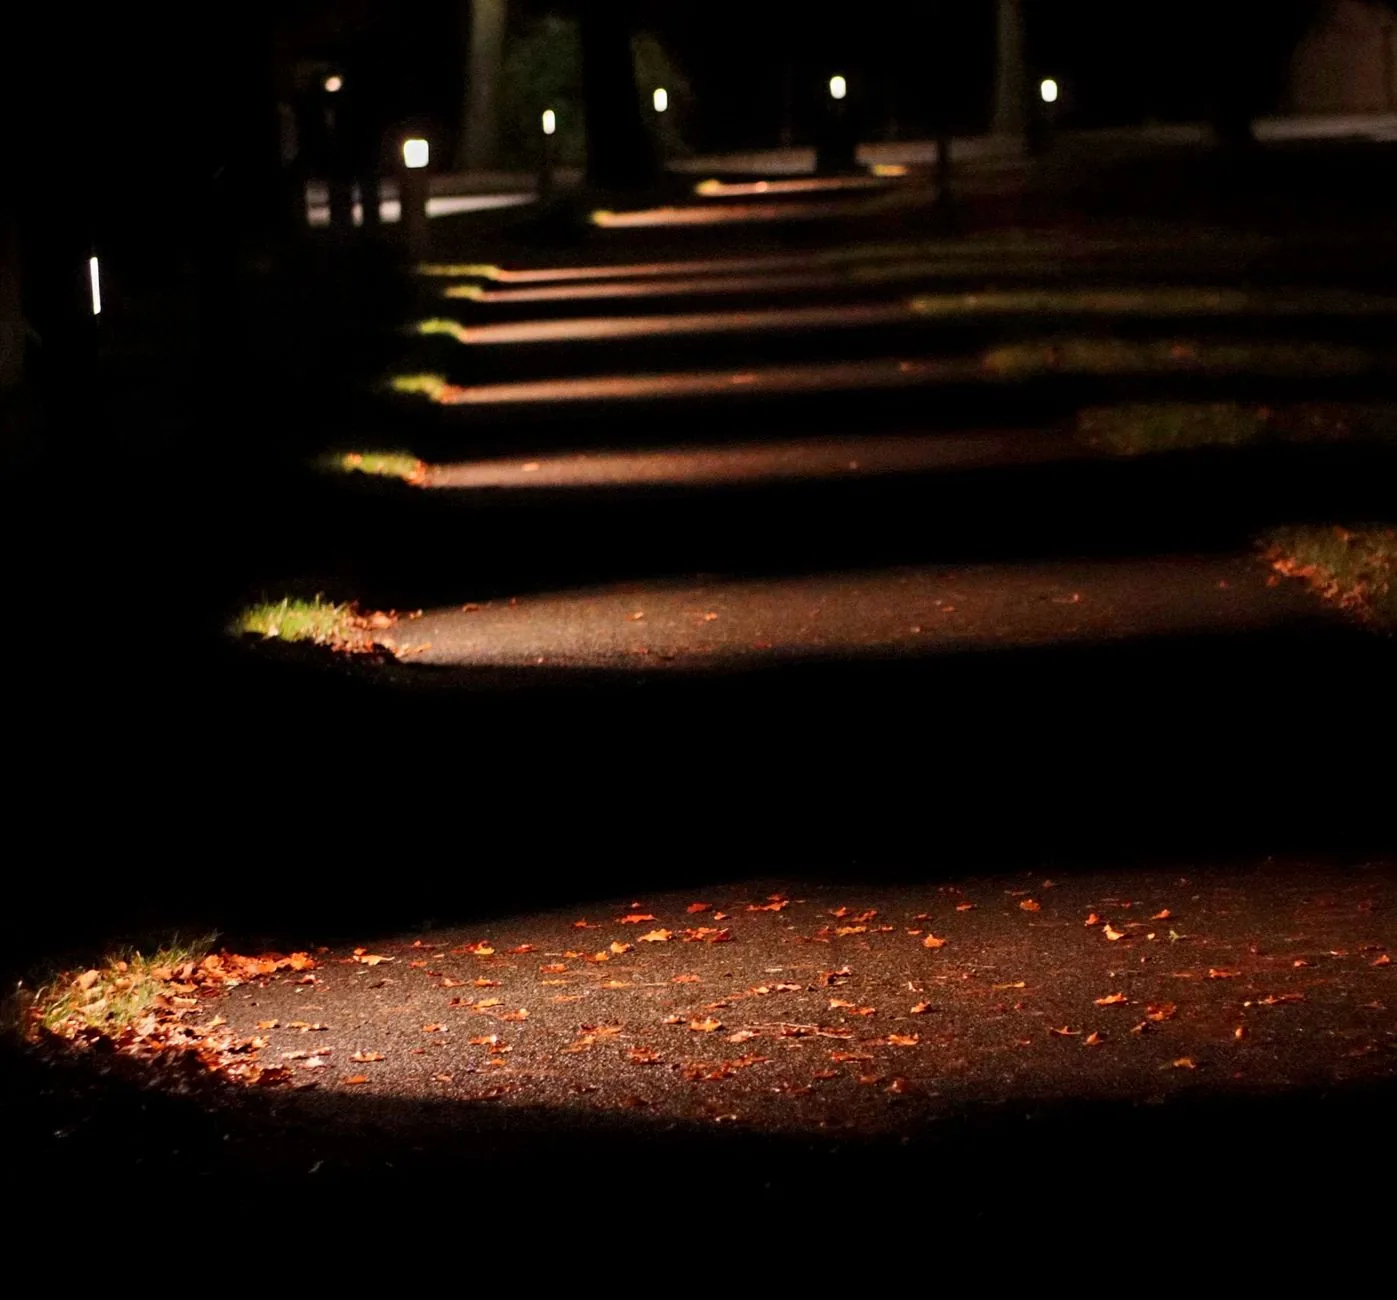
Spacing. Place fixtures 6 to 8 feet apart along a walkway and 8 to 12 feet apart along a driveway. The goal is overlapping pools of light with no dark gaps, not a runway of evenly spaced dots. Offset lights on alternating sides of the path rather than lining them up in a single straight row.
Setback. Keep fixtures 12 to 18 inches back from the edge of the walking surface. This throws light onto the path without creating a tripping hazard on the path itself.
Height. Aim for a light source between 14 and 24 inches off the ground — roughly knee to thigh height. Towering bollards look dramatic on a driveway, but on a narrow walk they shine straight into your eyes. Light the walking surface, not the air.
Brightness. For residential paths, 100 to 200 lumens per fixture is plenty. That gives you roughly 1 foot-candle on the ground — the level the Illuminating Engineering Society recommends for safely navigating residential walkways. Two hundred lumens is bright; 800 lumens is a spotlight, and it’s usually too much.
Width matters on drives. A 3,000-lumen flood to the side of a driveway does less good than a row of 150-lumen markers. For long or curved drives, lay out the fixtures in daylight with stakes and masking tape first, then adjust before anything is wired.
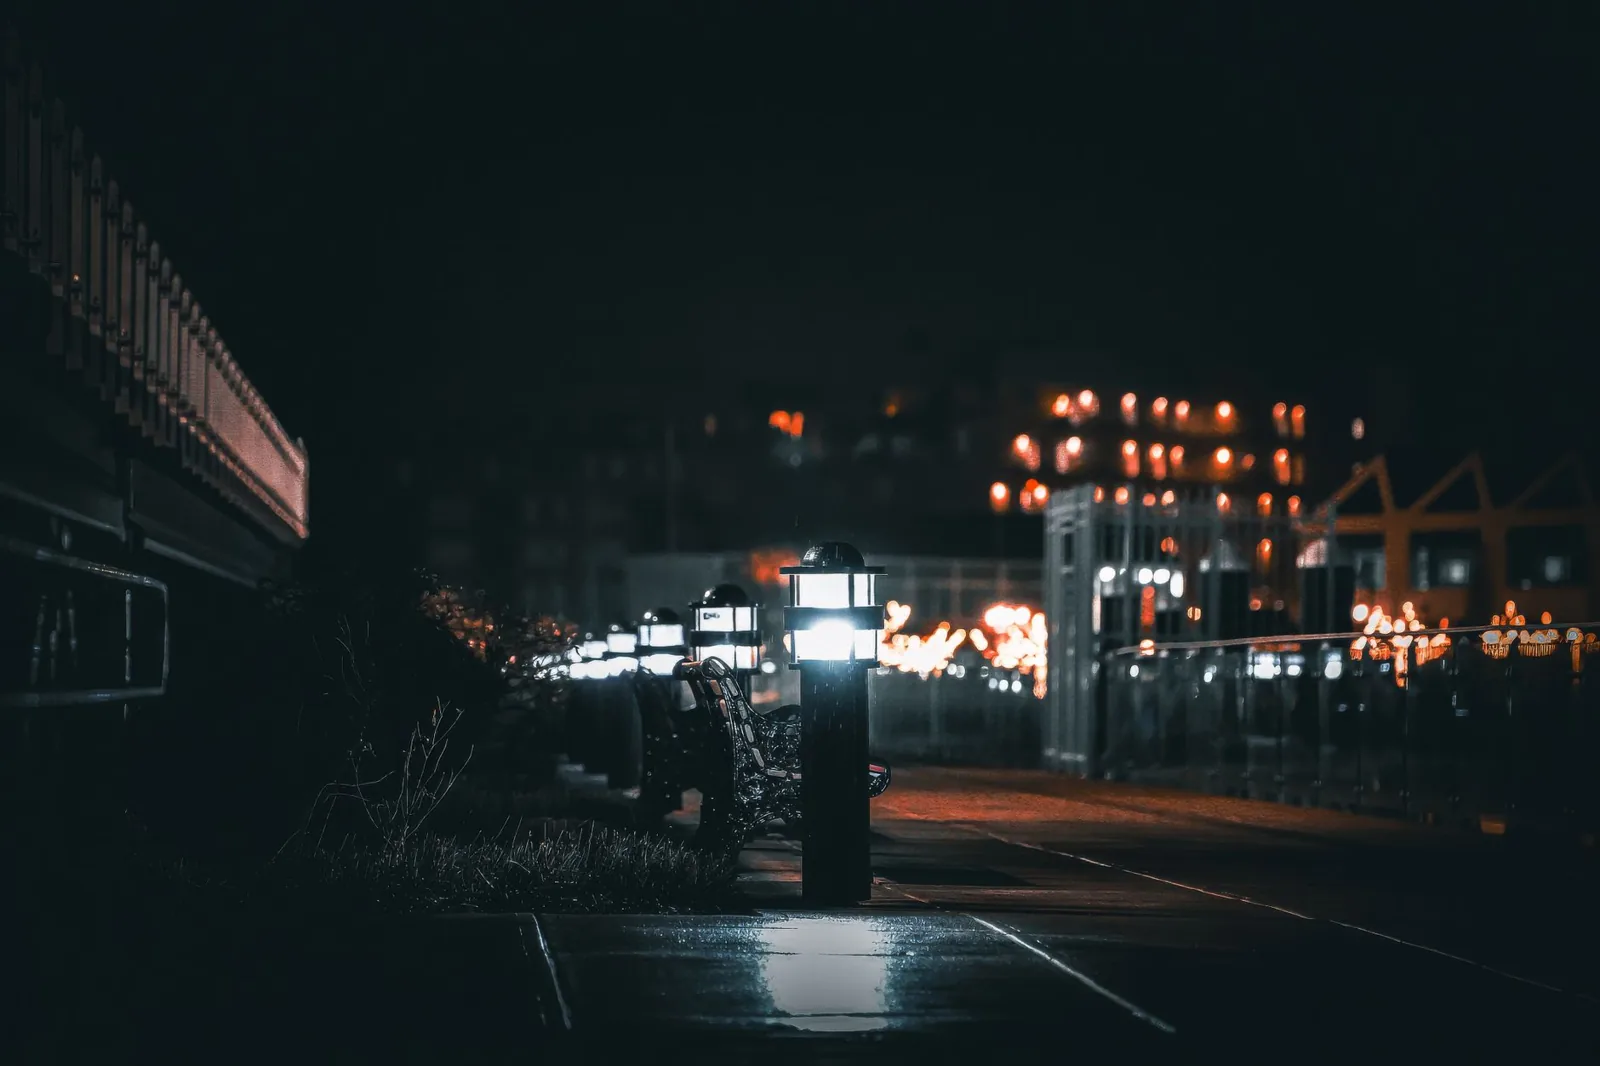
Photo by Cara Denison via Pexels
DIY Installation, Step by Step
Putting in a low-voltage path lighting system is one of the most approachable electrical projects a homeowner can take on, because 12-volt current is safe to work with and doesn’t require a permit in most municipalities. Here’s the sequence for a typical front walk.
- Choose and position the transformer. Mount it near an outdoor GFCI outlet, at least 12 inches above grade. Pick a unit rated for 25% more than your total fixture wattage — eight 4-watt fixtures draw 32 watts, so a 60-watt transformer is comfortable (never exceed 80% of a transformer’s capacity).
- Lay the cable. Run 12-gauge low-voltage cable from the transformer along the future light positions. Bury it 3 to 6 inches deep, or tuck it under mulch and ground cover if you want to skip trenching.
- Connect the fixtures. Most LED path lights pierce the cable with quick-connect or twist-on hub connectors. Attach each fixture over its connector and push the stake into the ground.
- Test before covering. Turn the system on and move any fixture that creates glare or leaves a dark spot before you bury the wire and restore the turf.
- Add a timer or photocell. A plug-in timer or astronomic photocell turns the lights on at dusk and off at dawn automatically, which is the single best upgrade for both security and energy use.
The national average for professional installation of 8 to 10 lights runs $2,000 to $6,000, so doing it yourself with a kit under $900 is a genuine saving.
Extending the Look: Steps, Borders, and Trees
A well-lit path never stops at the path. Extending your plan to the features alongside it makes the whole yard feel intentional, and it’s where the best path lighting ideas really pay off.
- Stairs first. Step lights on the risers, or small fixtures flanking each side of a staircase, are the highest-safety addition you can make. Two lights per flight is usually enough.
- Edge the driveway. In-ground driveway markers spaced 6 to 12 feet apart define the curbless edges clearly for guests backing in at night.
- Wash a wall or hedge. Aiming a low-level spread light at a retaining wall or dense hedge creates a soft backdrop that stops the path from floating in darkness.
- Uplight a specimen tree. One 5-to-20-watt uplight into the canopy of a tree near the path anchors the whole scene and draws the eye up.
- Tie it together with one transformer. Running every zone off a single landscape lighting transformer with multiple taps keeps timers and dimming consistent across the whole yard.
For broad ideas that go beyond the walkway, our landscape lighting ideas for the backyard rounds up full-yard layouts that pair naturally with any path plan.
Frequently Asked Questions
How many lumens do I need for path lighting?
Most residential path lights use 100 to 200 lumens per fixture. That produces roughly 1 foot-candle on the walking surface, which is comfortable and safe without glare. Reserve brighter fixtures for driveways and security zones.
Are solar path lights worth it?
Yes, for short, sunny paths with no tree cover. Modern models with replaceable batteries last 2 to 5 years and cost almost nothing to run. For shaded, north-facing, or long paths where winter dimming would be a problem, low-voltage is the more dependable choice.
How far apart should path lights be?
Space fixtures 6 to 8 feet apart on walkways and 8 to 12 feet apart on driveways, set 12 to 18 inches back from the path edge. Offset them on alternating sides so the light pools overlap evenly.
Can I install low-voltage path lighting myself?
In most areas, yes. Because 12-volt current is low risk, DIY installation generally doesn’t require a permit. The job involves mounting a transformer, running buried cable, and pressing fixtures onto the wire — a realistic one-day project for a front walk.
Do path lights use a lot of electricity?
No. A typical 4-watt LED fixture costs pennies a month to run. An eight-light system drawing about 32 watts costs roughly $15 to $40 a year in electricity, depending on local rates and how long it runs each night.
For fixture and layout inspiration, Bob Vila covers path lighting ideas.
The Bottom Line
The best path lighting ideas start from two simple questions: how long is the path, and how much sun does it get? Short, sunny stretches are perfect for $40-to-$120 solar packs that install in minutes. Long drives, shaded front walks, and any yard where you want timers and consistent brightness are worth the step up to a low-voltage system with a transformer — expect $350 to $900 in materials for a solid DIY eight-light setup, or $2,000 to $6,000 to have it professionally installed.
Whatever route you choose, keep fixtures low, space them 6 to 8 feet apart, and lean toward 100-to-200-lumen LEDs that light the ground rather than the sky. Get the layout right in daylight with stakes and the right numbers, and your path will guide the way safely — and beautifully — every night of the year.